The Advertisement Block lets you display the ads on your site. The blocks allow you to display the ads in the form of images where you can upload the image directly or display it via the external advertisement URL.
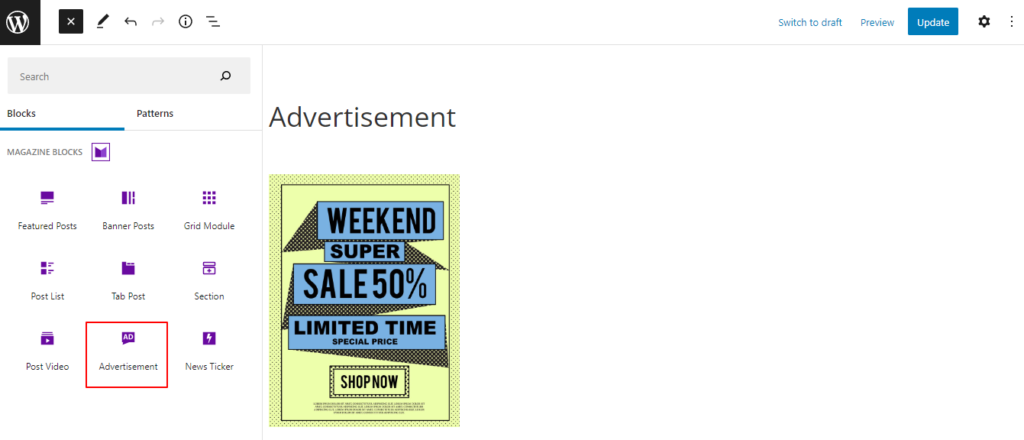
After you have chosen the Post List Block, you’ll get a block editing panel on the right-hand side. It has three options: General, Style, and Advanced. These options customize the design and other elements of the block. Let’s explore one by one below:
General #
The general settings consists of the following options as listed below:
General #
The general settings come with five options for customizing the Advertisement block. The options are listed below:
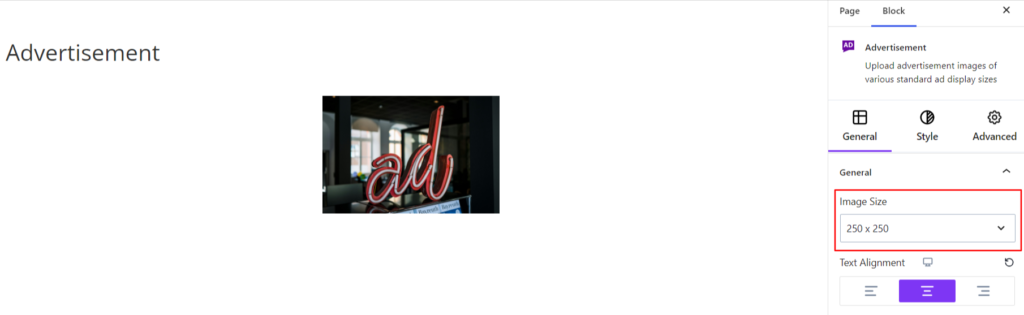
- Image Size – It allows you to choose the appropriate image size for the ads. You cannot add the custom image size; instead, choose one from the available options.
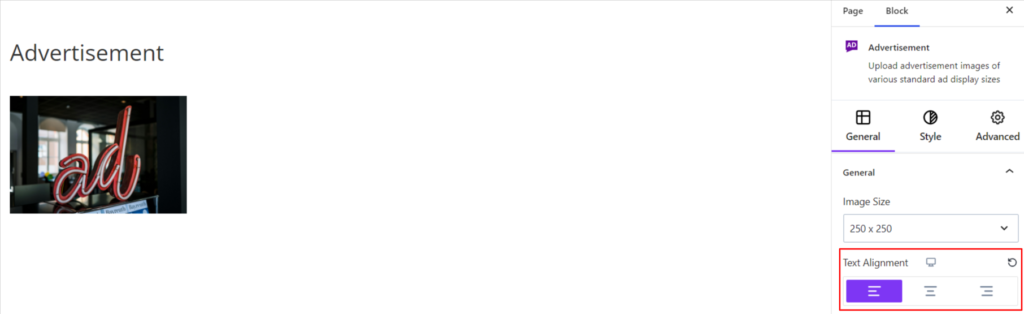
2. Text Alignment – It consists of the settings of the advertisement alignments. You can either set the ad image on the Left, Right, or Center on the site requirements. Moreover, you can select the alignments for different devices (Desktop, Mobile, and Tablet).
3. Advertisement Image – Inside the section, you can assign the appropriate advertisement image. You can add the image from your Local PC or an External Source.
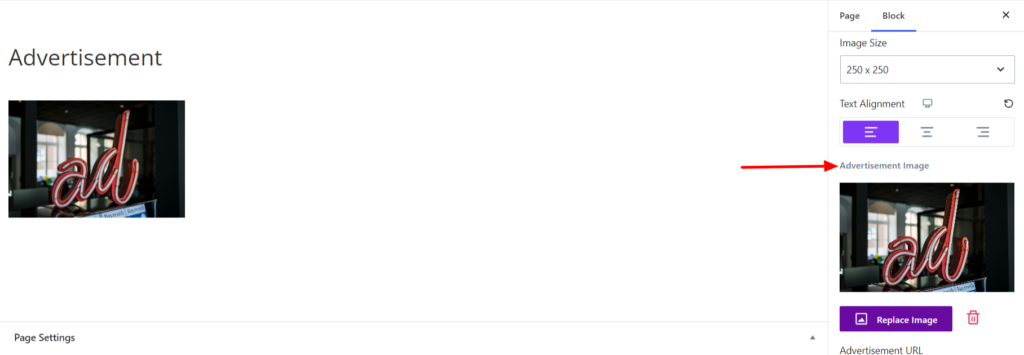
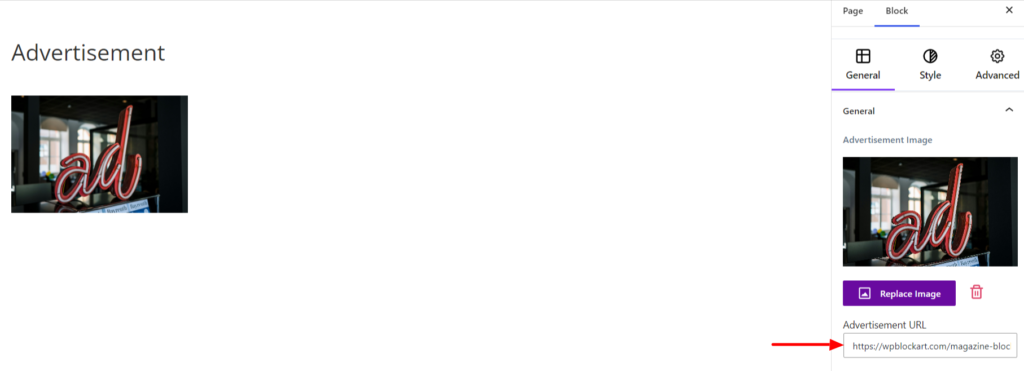
4. Advertisement URL – You can add the respective URL, which will open when clicking on the advertisement image.
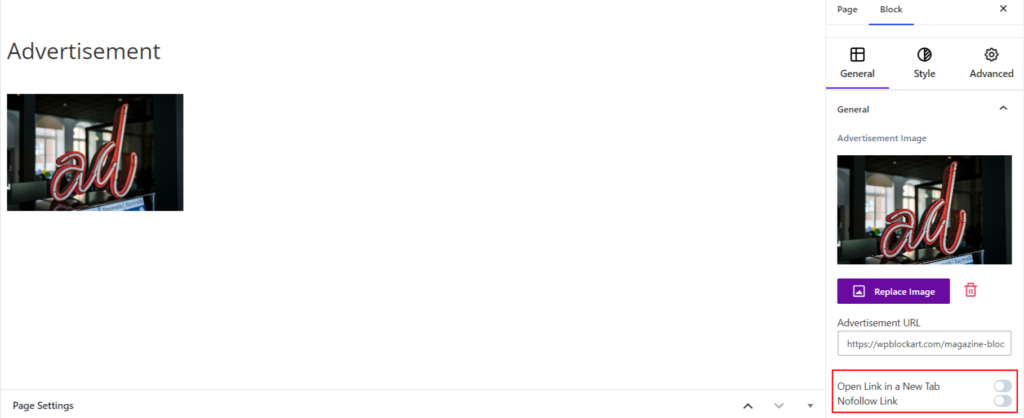
5.Open Link in a New Tab – Enabling the option will open the advertisement URL in a new tab.
6. No Follow Link – Enabling the option will direct the search engines not to use the advertisement URL for page ranking calculations.
Style #
Under the style option, you’ll find the following options available:
Image #
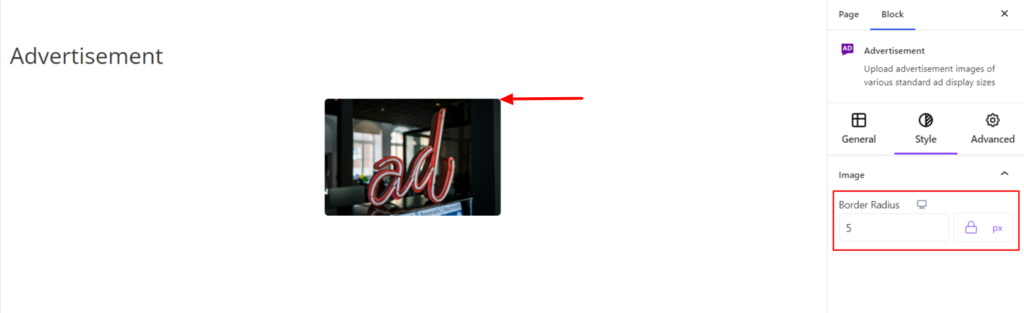
- Border Radius: You can change the border-radius value of the advertisement image. It lets you add round corners to the images.
According to the site requirement, you can set the border-radius value along with the units like px, em, %, or rem. Moreover, you can set the border radius value for various devices (Desktop, Mobile, and Tablet).
Advanced #
The Advanced section consists of four options for the Advertisement block.
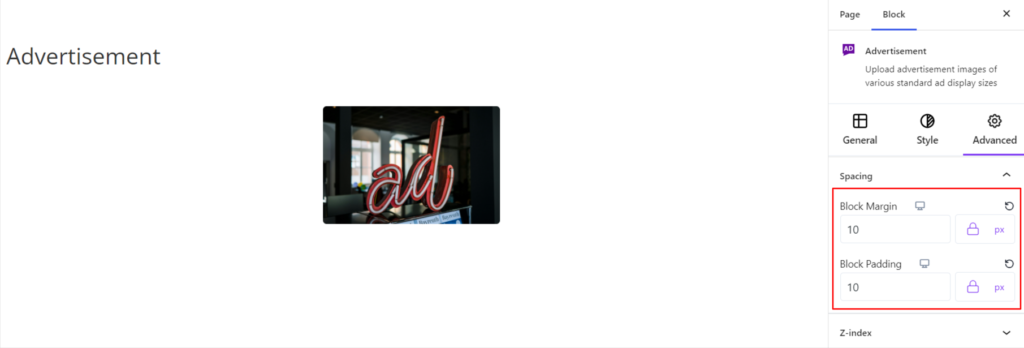
Spacing #
Under the spacing section, you can find the following options available:
- Block Margin – According to the site requirement, you can assign a specific margin value to the block along with units like px, em, %, and rem. Moreover, you can set the value of the different margins for various devices (Desktop, Tablet, and Mobile),
- Block Padding – According to the site requirement, you can assign a specific padding value to the block along with units like px, em, %, and rem. Moreover, you can set the value of the different margins for various devices (Desktop, Tablet, and Mobile).
Z-Index #
It allows you to set the priority of the Advertisement block according to the site requirement.
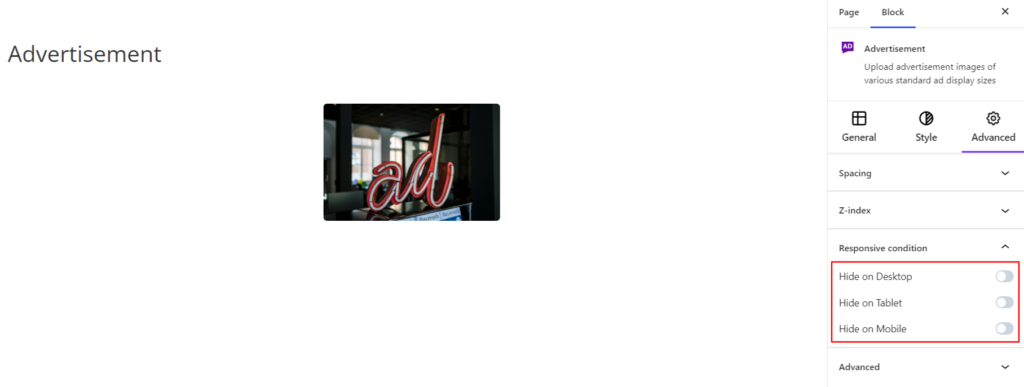
Responsive Condition #
Using the option, you can enable/disable displaying the block on various screen sizes:
- Hide on Desktop – It hides the Advertisement block on the Desktop.
- Hide on Tablet – It hides the Advertisement block on Tablet.
- Hide on Mobile – It hides the Advertisement block on Mobile.
Advanced #
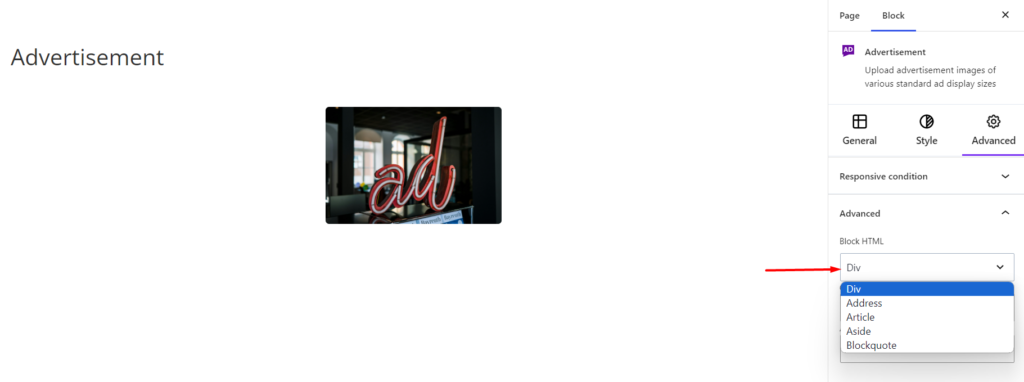
Under the option, you can set the CSS ID and Classes for this particular Advertisement block. The available options are listed below:
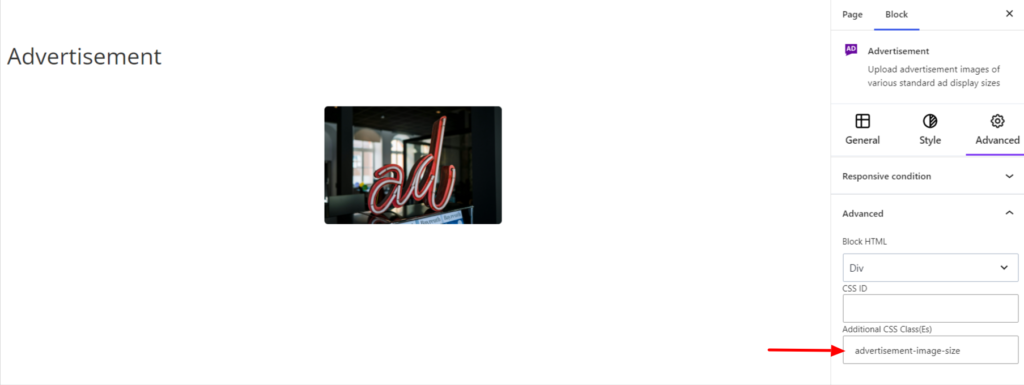
- Block HTML – It sets the HTML elements to your site requirements. By default, the HTML element is div; however, you can use another element such as Address, Article, Aside, etc.
- CSS ID – It allows you to set specific IDs to style this particular block. Once you have set the ID, you can write the CSS Code to style the block using that particular ID.
- Additional CSS Class(es) – It allows you to add a CSS class to your block, letting you write custom CSS to style this particular block.
For example, if you want to add the custom size for the advertisement image, you can add a class such as advertisement-image-size to the Additional CSS Class field. After that, visit your CSS editor and write a style for the class as below:
.advertisement-image-size img{
width:70px;
height:20px;
}
Upon adding the code, it will make the changes only to this particular block and not others.